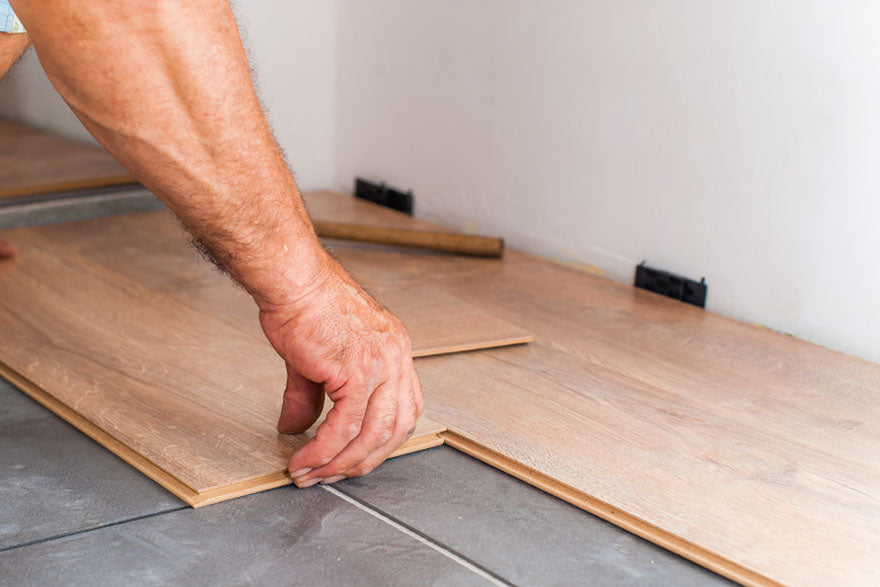
How to Stagger Vinyl Plank Flooring
Source: Abrym/shutterstock.com
Since vinyl plank flooring comes in even sizes, you might be tempted to install them in a straight pattern. However, straight floor panels are more likely to warp, shift and slide out of place. Staggered floors create an unevenly spaced pattern with 6 inches of space between the end joints on adjacent rows.
You'll need to cut the end planks unevenly so that you don't end up with H-joints where each end joint lines up with the next end joint a row over. This weakens the structural integrity almost as much as installing planks in perfect rows. Staggered flooring also creates a diverse pattern that looks better on your floor and potentially matches your stained cabinets. Follow these steps to install your new floor panels.
Browse Our Vinyl Plank Flooring SelectionStep 1
Prepare the subfloor by sweeping dirt and debris and sanding the surface to level it. This helps the panels stick to the floor without raising or buckling.
Step 2
Measure the width of the planks, then measure the width of the room and divide that number by the planks' width so that you know how many rows you'll need. Similarly, measure the length to figure out how many panels you need per row.
Make sure that the planks at the end of the rows are at least 6 inches long. If you don't have room, cut off a section of the first plank in the row so that you can squeeze in 6 inches.
Step 3
Each panel has subtle differences. Mix up the panels before you apply them to the floor to scatter the patterns and designs. If you install them according to the order they came in the box, you might cluster dark and light patches together, creating a blotchy appearance.
Step 4
Use a spacer to create a quarter inch of space between the wall and flooring so that the planks have room to expand and contract when the temperature changes. Place the first row on the floor, making sure that each panel is at least 6 inches long.

Source: Maleo/shutterstock.com
Step 5
Cut a full-length plank in half, then start the second row with one of these halves. The end of the panel should be 6 inches away from the seam in the first row. Complete the row as you did in the previous step.
Step 6
For the third row, cut another panel into a shorter length or use one of the pieces that you cut in an earlier step. The end of this panel should be spaced 6 inches away from the seam on the second row. Make sure that this plank is shorter than the first plank in the first row so that you don't create an H-joint.
Step 7
Use the other half of the panel that you broke in the fifth step to start the next row. Repeat this process until you've covered the floor.
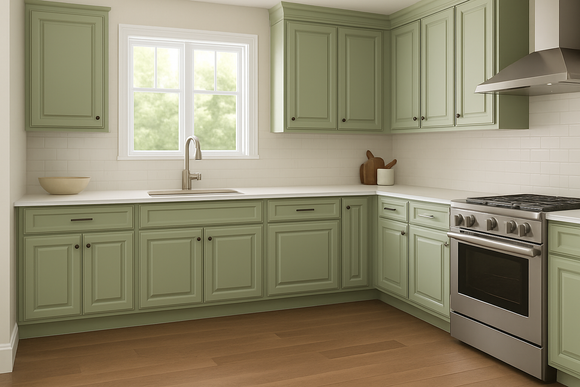
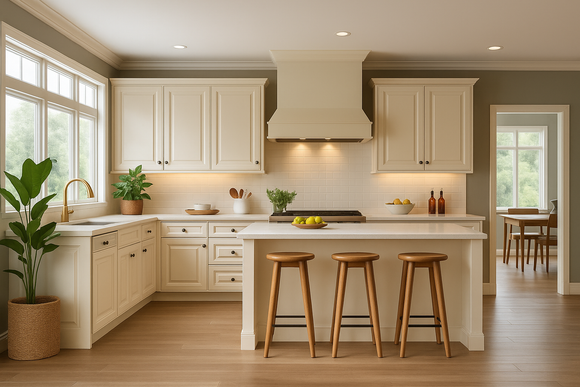
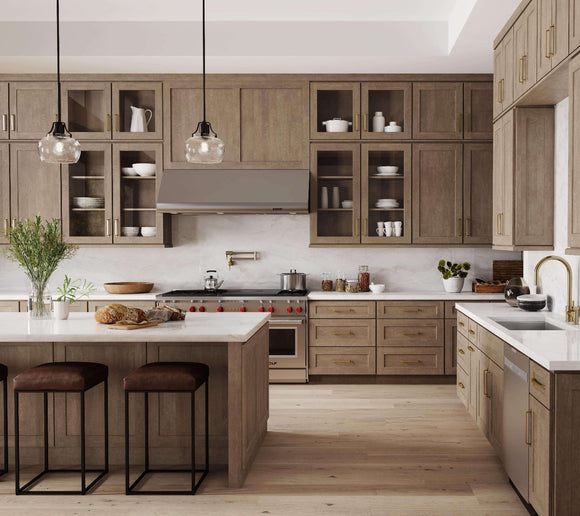
Check Out Our Kitchen Cabinet Samples
Source: Dmitry Kalinovsky/shutterstock.com
Conclusion
Vinyl flooring is tough, affordable and easy to install. Your flooring could last 20 years if you take care of it. Since vinyl resists water, all you have to do is wipe up spills. Periodically sweep and mop the floor to eliminate dirt and allergens, and place rugs on the vinyl for extra protection.
Vinyl comes in dozens of shades and designs and can mimic other materials, including hardwood. Popular styles include oak, driftwood, cypress and aged teak. Staggering your flooring highlights the grain and diversity that makes vinyl practically indistinguishable from wood.
Browse our RTA cabinets and kitchen cabinet samples at Wholesale Cabinet Supply as you plan your renovation. Order flooring samples online to see how the panels look inside your house before buying a set. While you're figuring out your budget, reach out to us for a free quote.